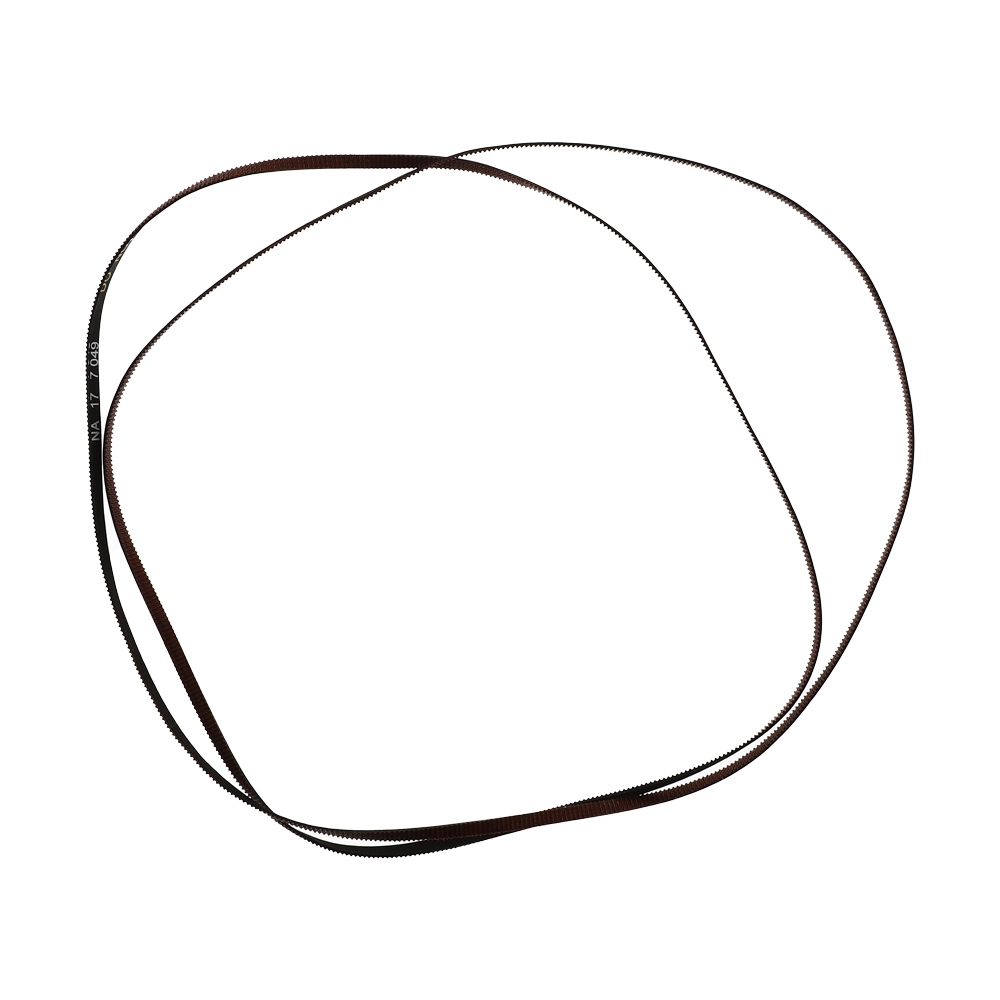
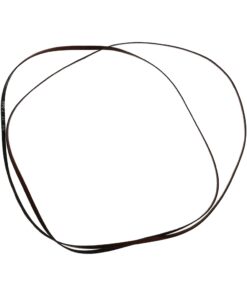
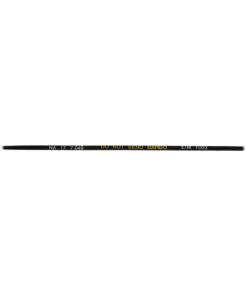
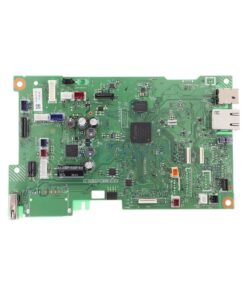
สายพานหัวพิมพ์ (CR Timing Belt) รุ่น D002E4001 สำหรับเครื่องพิมพ์ Brother MFC-J3930DW เป็นชิ้นส่วนอะไหล่สำคัญที่ช่วยในการเคลื่อนย้ายหัวพิมพ์อย่างแม่นยำระหว่างการพิมพ์
รายละเอียดสินค้า สายพานหัวพิมพ์ MFC-J3930DW
-
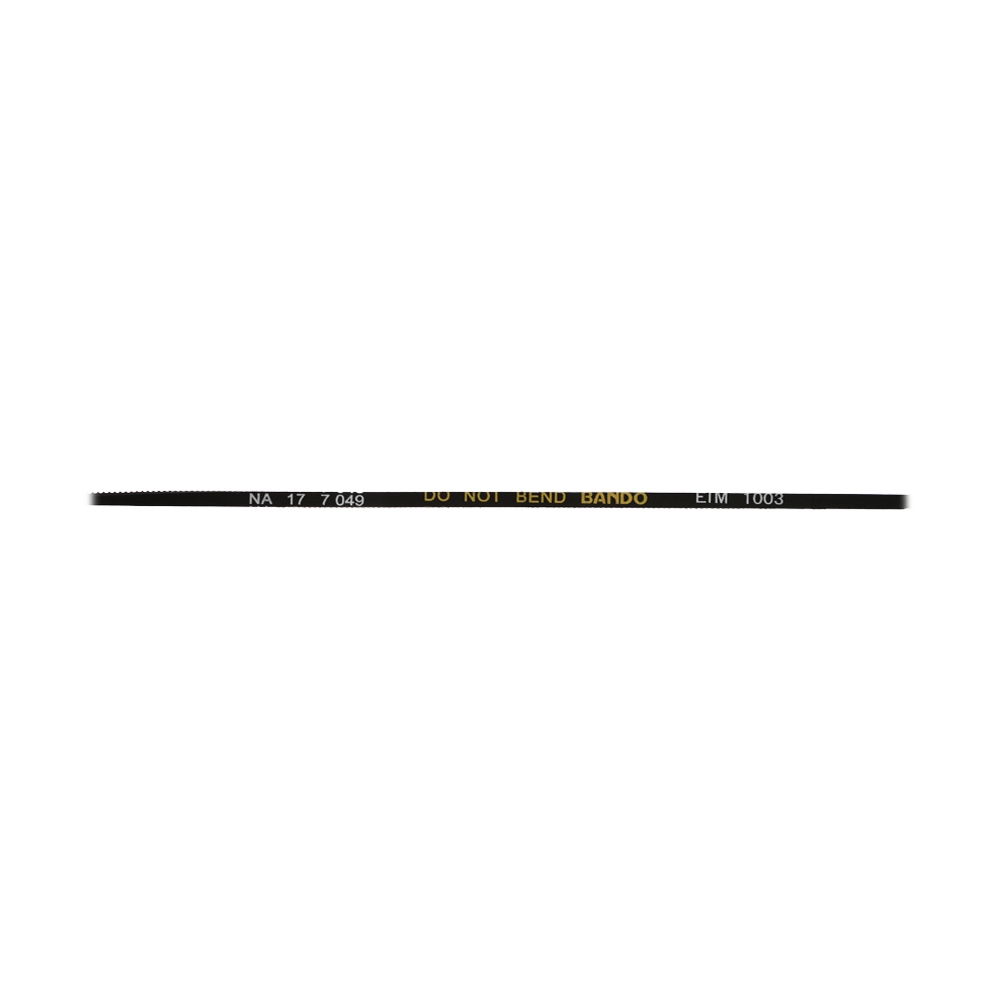
รหัสชิ้นส่วน: D002E4001
-
ชื่อสินค้า: CR Timing Belt (สายพานหัวพิมพ์)
-
ความเข้ากันได้: Brother MFC-J3930DW
-
ฟังก์ชัน: ช่วยในการเคลื่อนย้ายหัวพิมพ์ระหว่างการพิมพ์ เพื่อให้การพิมพ์มีความแม่นยำและคุณภาพสูง
-
อายุการใช้งาน: ขึ้นอยู่กับการใช้งานของเครื่องพิมพ์
วิธีการใช้งาน (การติดตั้ง / เปลี่ยนสายพานหัวพิมพ์)
⚠️ คำเตือน: การเปลี่ยนสายพานหัวพิมพ์ควรทำโดยผู้มีประสบการณ์หรือช่างเทคนิค เพราะต้องมีการถอดชิ้นส่วนภายในเครื่องจำนวนมาก หากยังอยู่ในประกันควรส่งให้ศูนย์บริการ Brother ทำการเปลี่ยน
ขั้นตอนการติดตั้งโดยสรุป:
-
ถอดปลั๊กและปิดเครื่อง
-
เพื่อความปลอดภัยขณะถอดเปลี่ยนอะไหล่
-
-
เปิดฝาเครื่อง และถอดฝาครอบภายใน
-
ใช้ไขควงคลายสกรูต่าง ๆ เพื่อเข้าถึงชุดหัวพิมพ์และสายพาน
-
-
ถอดชุดหัวพิมพ์และสายพานเดิม
-
ถอดสายพานเก่าออกจากเฟืองด้านหัวพิมพ์และมอเตอร์อย่างระมัดระวัง
-
-
ติดตั้งสายพานใหม่ (D002E4001)
-
วางสายพานใหม่ลงในตำแหน่งเดิม พาดผ่านมอเตอร์และรอกด้านหัวพิมพ์ให้ตึงพอดี
-
-
ทดสอบการเลื่อนหัวพิมพ์
-
ตรวจสอบว่าเลื่อนได้ลื่นและไม่ฝืด
-
-
ประกอบกลับทุกส่วนและเปิดเครื่องทดสอบ
-
ทดสอบการพิมพ์ว่าหัวพิมพ์ทำงานปกติ ไม่มีเสียงผิดปกติ
-
วิธีการบำรุงรักษา
-
หลีกเลี่ยงการสัมผัส: ไม่ควรสัมผัสหรือดึงสายพานโดยตรง เพื่อป้องกันความเสียหาย
-
ตรวจสอบสภาพ: ควรตรวจสอบสภาพของสายพานเป็นประจำ หากพบความเสียหายหรือสึกหรอ ควรเปลี่ยนใหม่ทันที
-
ทำความสะอาด: ทำความสะอาดภายในเครื่องพิมพ์อย่างสม่ำเสมอ เพื่อป้องกันฝุ่นหรือเศษวัสดุที่อาจทำให้สายพานเสียหาย
สนใจสั่งซื้อสินค้า ติดต่อสอบถาม @Shoppingpc
CR Timing Belt D002E4001 for Brother MFC-J3930DW printer is an important spare part that helps to move the print head accurately during printing.
Product details
Part number: D002E4001
Product name: CR Timing Belt (print head belt)
Compatibility: Brother MFC-J3930DW
Function: Helps to move the print head during printing. For high quality and accurate printing
Lifespan: Depends on the use of the printer
How to Use / Install the CR Timing Belt (D002E4001)
⚠️ Note: Replacing the printhead timing belt requires disassembling internal parts. It is recommended to let a technician handle this if you’re not experienced.
Summary of Installation Steps:
-
Power off and unplug the printer
-
Always ensure safety before opening the device
-
-
Open the printer cover and remove internal casing
-
Unscrew panels to access the printhead carriage and timing belt area
-
-
Remove the old timing belt
-
Carefully disconnect it from the motor and printhead pulley
-
-
Install the new belt (D002E4001)
-
Loop the new belt through the motor gear and printhead carriage, ensuring proper tension
-
-
Test the printhead movement
-
Make sure it moves smoothly without resistance
-
-
Reassemble and power on the printer
-
Perform a print test to confirm correct installation
-
Maintenance method
Avoid contact: Do not touch or pull the belt directly. To prevent damage
Check condition: The condition of the belt should be checked regularly. If damage or wear is found, it should be replaced immediately.
Clean: Clean the inside of the printer regularly. To prevent dust or debris that can damage the belt
สินค้าที่เกี่ยวข้อง
SPARE PART

SPARE PART
SPARE PART
SPARE PART