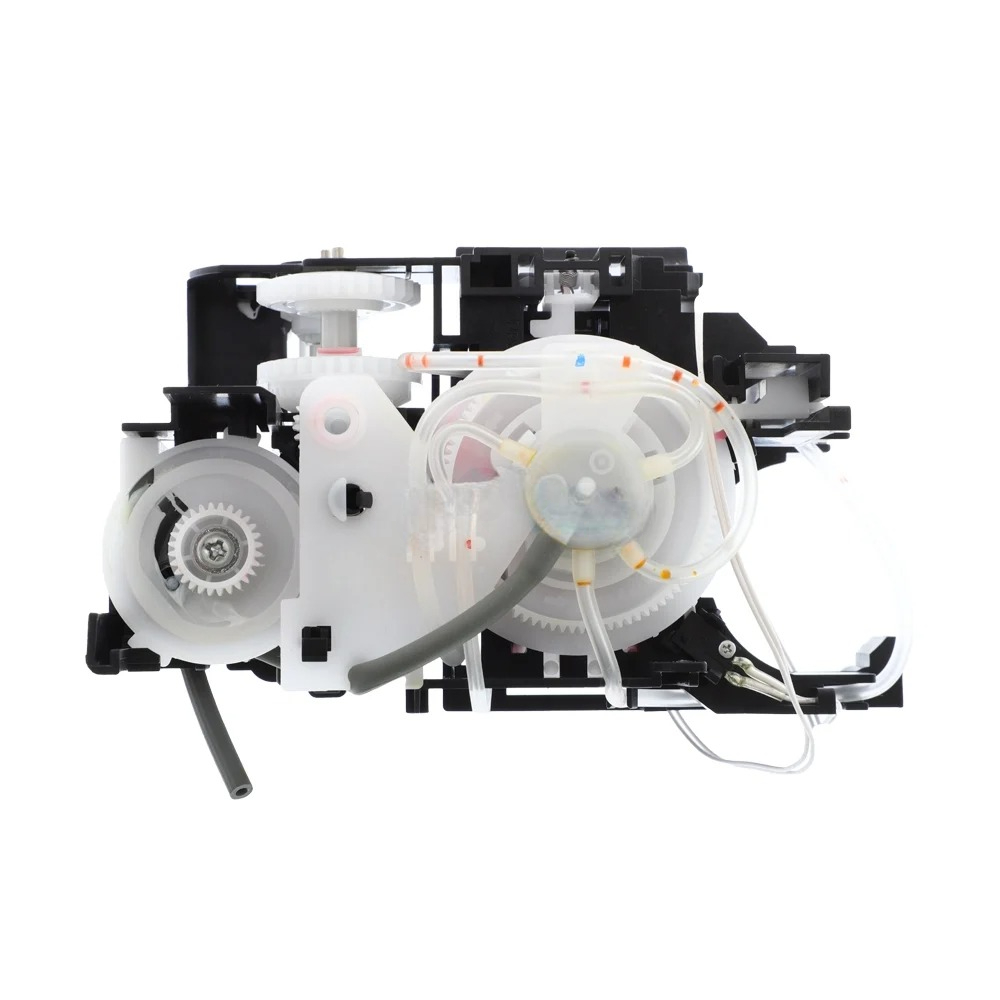
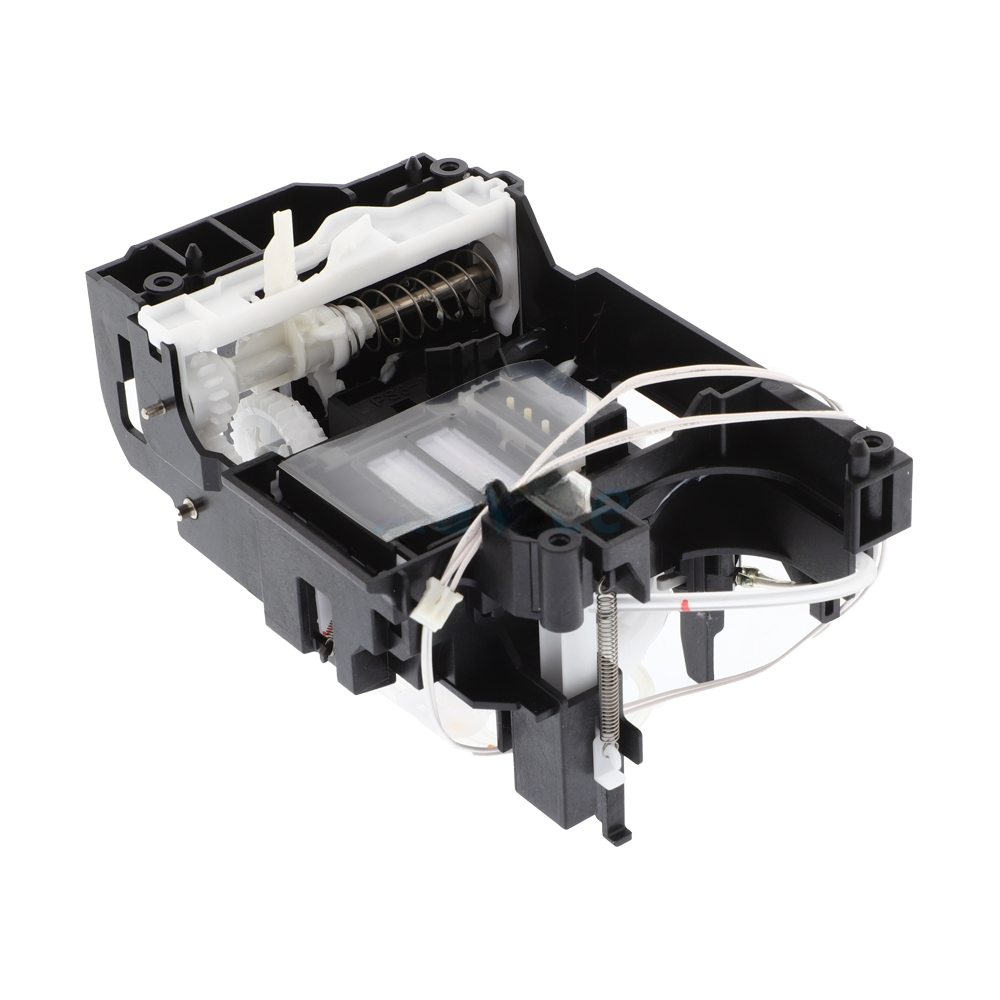
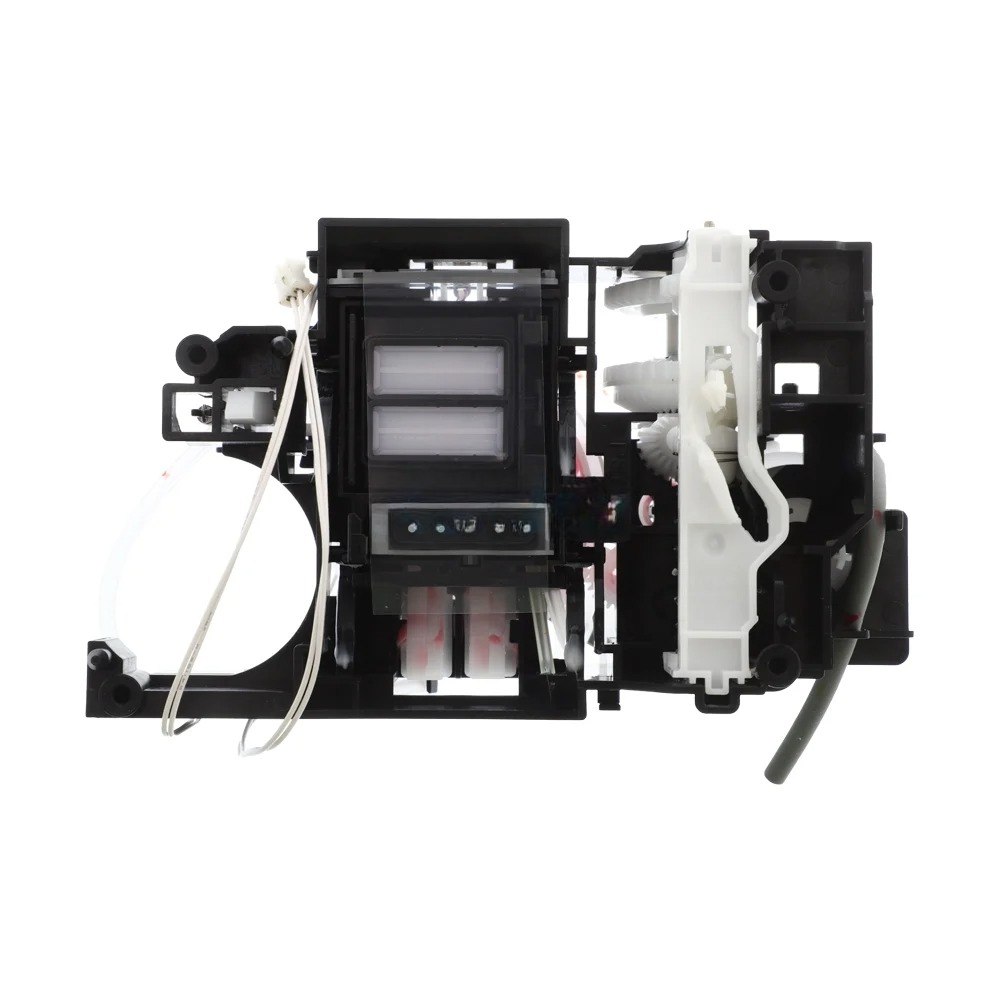
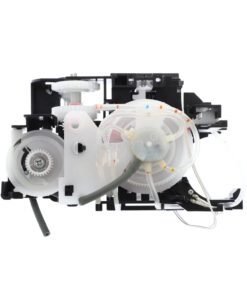
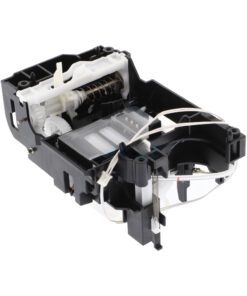
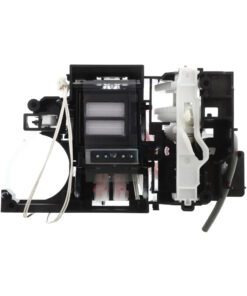
ชุดปั๊มหมึก Brother DCP-T310 / DCP-T510W
-
ชื่อสินค้า (Product Name): ชุดปั๊มหมึก (Maintenance Unit)
-
รหัสอะไหล่ (Part Number): D00VCH001
-
รุ่นที่รองรับ (Compatible Models):
-
Brother DCP-T310
-
Brother DCP-T510W
-
Brother DCP-T520W
-
-
ฟังก์ชัน (Function): ดูดหมึกส่วนเกิน และป้องกันการรั่วซึมของหมึกภายในเครื่องพิมพ์
-
น้ำหนัก (Weight): ประมาณ 386 กรัม
-
สภาพสินค้า (Condition): ใหม่ (New), บรรจุกล่อง (Box Pack)
-
รหัสสินค้า (Product Code): D00VCH001
-
รหัส HS (HSN Code): 8443
️ รายละเอียดสินค้าเพิ่มเติม ชุดปั๊มหมึก Brother DCP-T310 / DCP-T510W
-
ฟังก์ชันหลัก: ชุดปั๊มหมึก ทำหน้าที่ดูดซับหมึกส่วนเกินที่เกิดขึ้น ระหว่างการพิมพ์ เช่น หมึกที่หกเลอะเทอะ หรือหมึกที่ไม่สามารถพิมพ์ได้ เพื่อป้องกันไม่ให้หมึกไหลย้อนกลับ เข้าไปในระบบพิมพ์ และช่วยรักษาคุณภาพ การพิมพ์ให้คงที่
-
ความสำคัญ ของการเปลี่ยนชุดปั๊มหมึก: การเปลี่ยนชุดปั๊มหมึก ตามระยะเวลาที่กำหนดจะช่วยป้องกันปัญหาหมึกรั่วซึมภายในเครื่องพิมพ์ ซึ่งอาจส่งผลให้เกิดความเสียหาย ต่อส่วนประกอบอื่น ๆ และลดประสิทธิภาพ การทำงานของเครื่องพิมพ์
วิธีการติดตั้ง
-
ปิดเครื่องพิมพ์ และถอดปลั๊กไฟ (Turn off the printer and unplug it): เพื่อความปลอดภัย
-
เปิดฝาครอบ ด้านบนของเครื่องพิมพ์ (Open the top cover of the printer): เพื่อเข้าถึงส่วนภายใน
-
ถอดชุดปั๊มหมึกเก่าออก (Remove the old maintenance unit): โดยการดึงออกจากตำแหน่งที่ติดตั้ง
-
ติดตั้งชุดปั๊มหมึกใหม่ (Install the new maintenance unit): โดยการใส่ลงในตำแหน่งที่ถูกต้องจนกว่าจะเข้าที่
-
ปิดฝาครอบเครื่องพิมพ์ และเชื่อมต่อปลั๊กไฟ (Close the printer cover and plug in the power): เพื่อเปิดเครื่องพิมพ์
-
ทดสอบการทำงานของเครื่องพิมพ์ (Test the printer’s functionality): เพื่อให้แน่ใจว่าสามารถใช้งานได้อย่างถูกต้อ
สนใจสั่งซื้อสินค้า ติดต่อสอบถาม @Shoppingpc
- Product Name: Maintenance Unit
- Part Number: D00VCH001
- Compatible Models:
- Brother DCP-T310
- Brother DCP-T510W
- Brother DCP-T520W
- Function: Sucks up excess ink and prevents ink leakage inside the printer
- Weight: Approximately 386 grams
- Condition: New, Box Pack
- Product Code: D00VCH001
- HSN Code: 8443
Installation Method
- Turn off the printer and unplug it: For safety
- Open the top cover of the printer: To access the internal parts
- Remove the old maintenance unit: By pulling it out of the installed position
- Install the new maintenance unit: Insert it into the correct position until it clicks into place.
- Close the printer cover and plug in the power: Turn on the printer.
- Test the printer’s functionality: To make sure it works properly.
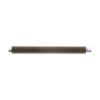
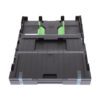
สินค้าที่เกี่ยวข้อง
SPARE PART
SPARE PART

SPARE PART
SPARE PART
SPARE PART


SPARE PART